
I have been seriously lacking in creative projects recently, so I decided that in honor of my new niece I would share one of my absolute favorite crafts to make: hair bows.
So....here are the simple steps to making adorable, professional looking hair bows for all the little girls in your life (speaking of which, I'm pretty sure every pregnant person I know is having a girl). Yes, I'm spilling all of my secrets. Feel special.
The Simple Hair Bow:
Supplies:
-Scissors
-Hot Glue Gun
-Jewelry Wire
-Fray Check
-Hair Clip
-Wax Paper
-Ruler or Yardstick
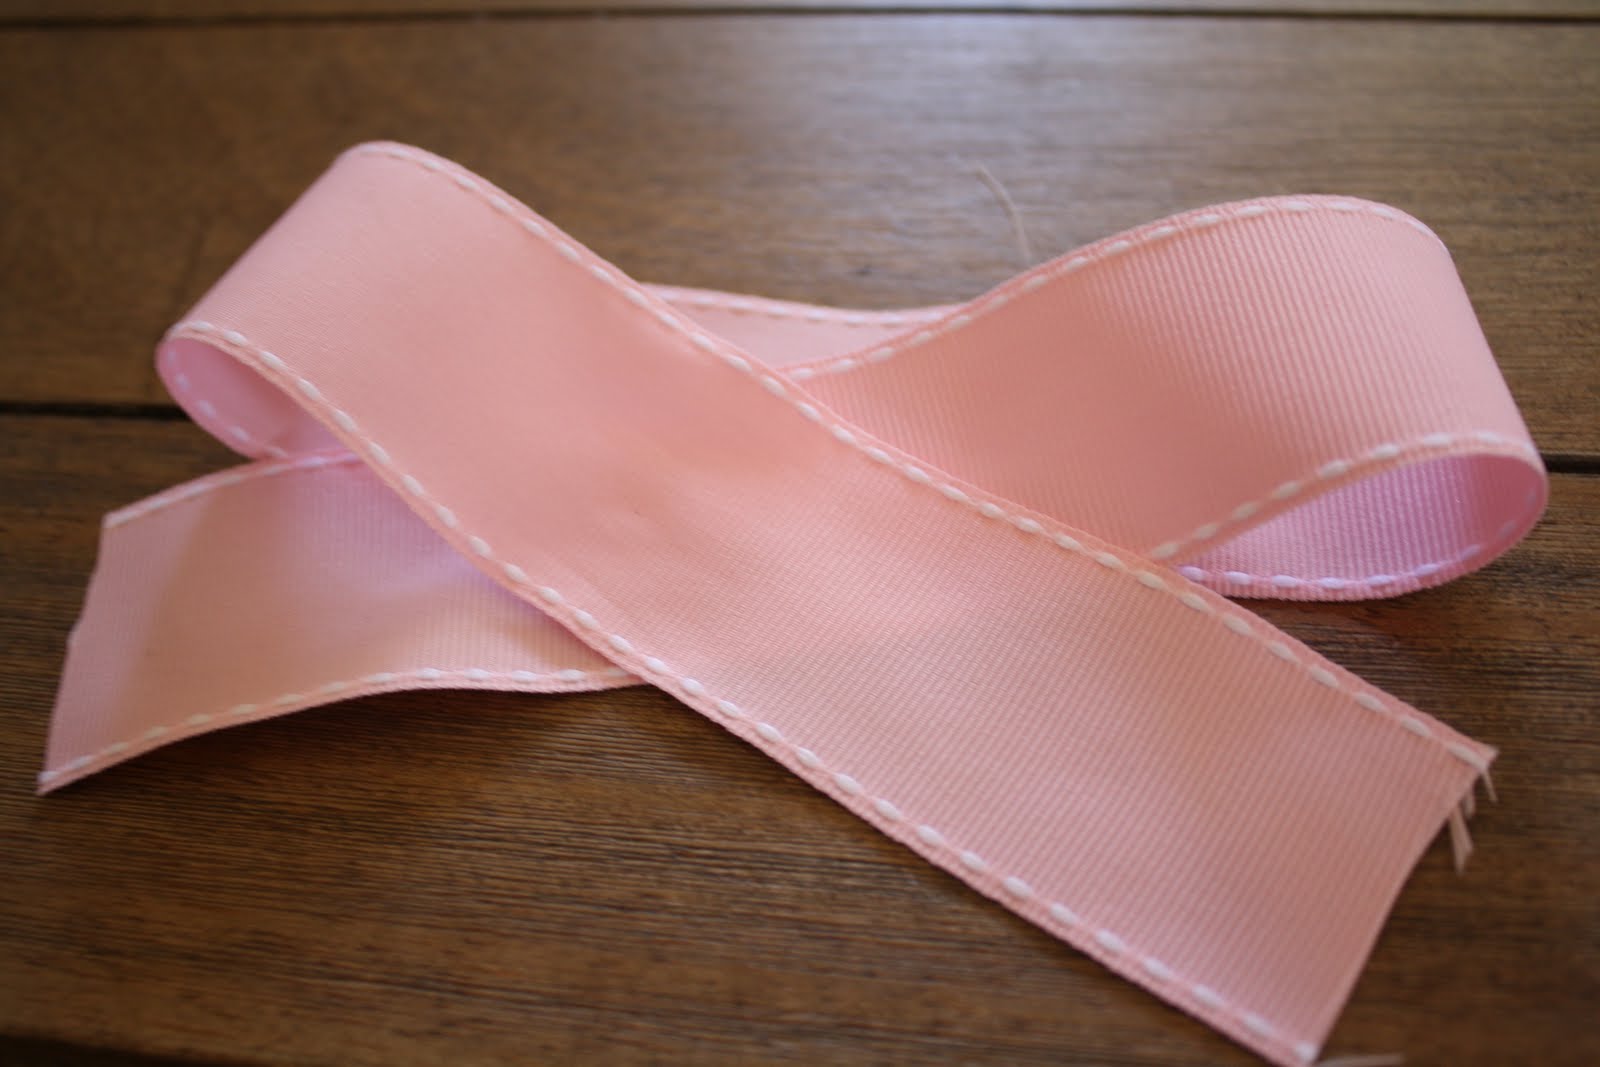
-30 inch long piece of 1 1/2 inch wide ribbon
-8 inch long piece of 1 1/2 inch wide ribbon
Step 1: Drape the longest piece of ribbon over your hand, wrapping twice so that the ends of the ribbon face opposite directions.


Step 2: Place the folded ribbon on a flat surface.

Step 3: Gather and pinch the center of the ribbon to create a bow. (Sorry about the blurry picture....I looked after I had finished the bow.) Wrap the center of the bow with jewelry wire to hold in place. Don't worry if it doesn't look perfect right away, you can pull and mess with the ribbon once the wire is in place to get it looking like a bow.

Step 4: Take the 8" piece of ribbon and fold one half over the other.

Step 5: Create a knot by pulling the top half up through the center loop.

Step 6: Place and hot glue the knot over the center wired part of the hair bow. Wrap ribbon around the back, hot glue, and trim off the excess ribbon.

Step 7: Hot glue the top of an alligator clip or hair clip and attach the hair bow. Be sure to place wax paper in the hair clip so you don't glue it shut!

Step 8: The last and probably most important step is to fray check the ends of the bow. We don't want unraveled ribbon, people. Fray check is your new bestie.

Ta-da! A cute and simple hair bow.

The 3-Layered Hair Bow (my favorite)
If you like huge hair bows, this bow is for you!
Supplies:
-Scissors
-Hot Glue Gun
-Jewelry Wire
-Fray Check
-Hair Clip
-Wax Paper
-Ruler or Yardstick
- 3, 19 inch long pieces of 1 1/2 inch wide ribbon
-8 inch long piece of 1 1/2 inch wide ribbon

Step 1: Take one piece of 19" long ribbon. Overlap as shown below.
Step 2: Pinch the center of the ribbon and hold in place by wrapping jewelry wire around the middle.

Step 3: Repeat Steps 1 and 2 for the remaining 19" pieces of ribbon. Your bows should look like this when you finish.

Step 4: Stack the 3 bows on top of each other. I usually stack them in a clockwise direction so that they don't lay directly on top of each other. Wrap jewelry wire around the center of all 3 bows.

Step 5: Repeat Steps 4-8 in the above directions to make a center knot and complete the bow.
And you should get something like this when you're done!

Love :).

Have a very Happy Friday!
Wow, thank you!! I will definitely do that!
ReplyDeletenice work. only you dont really need glue to stop the ends from fraying. running a lighter against the ends works too. the flame sightly melts the ribbon so it wont fray. :)
ReplyDeletejust saw your tutorial on pinterest. fabulous bows! best and prettiest i've seen on the interwebs!!
ReplyDeleteyou made them so much easier than i did for my daughter back in the '80s. LOL
Love the 2nd bow, it is so full!!
ReplyDeleteThanks for tutorial. WIll try! :)
ReplyDeleteI love your bows. Very easy to follow the instructions! Can't wait to try them.
ReplyDeleteLove the tutorial. I have been making bows for years (selling and for my lil girl and gifts) and I always enjoy seeing a new approach. Might I suggest dental floss for tying the bow as a cheaper and stronger option that won't have a wire possibly poke through. My other alternative to tying is embroidery floss, it's cheap and strong too! :) Happy bow making!
ReplyDeleteGreat tutorial! Thank you so much for posting! We are bow
ReplyDeletefanatics and it is so rewarding to make them myself!!!
Love it! Thanks for sharing!
ReplyDeleteThank you! I just whipped one up to match my baby's Easter dress!
ReplyDeleteI second the lighter method for the ends. It's fast, permanent and you don't have to wait for it to dry.
ReplyDeleteThanks for this tutorial. You made it so easy to follow and the bows turn out great. I just made a couple to stick on my shoe clips. Thanks for sharing.
ReplyDeleteThese bows are so neat. I will definitely be trying this method. Thanks for sharing.
ReplyDeleteWow! Thanks for the simple directions. I am going to go and make these right now. I bought the ribbon for another blog, but it was too difficult. Thanks again.
ReplyDeleteWow! Thanks for the simple directions. I am going to go and make these right now. I bought the ribbon for another blog, but it was too difficult. Thanks again.
ReplyDeleteLove how simple this is!!!!!
ReplyDeleteHow long should it be with 7/8 in ribbon?
ReplyDeleteI used the same amount with the 7/8 ribbon and it turned out great!
DeleteJust saw it amazin
DeleteWhat a wonderful tutorial - thank you for sharing it with us!
ReplyDeleteMy grand-daughters and I thank you, Katy, for your wonderful tutorial.
ReplyDeleteThis was great. I am so going to make this. Simple sweet and easy to follow!
ReplyDeleteYou rock thanks a bunch
ReplyDeleteSuzie BEE
I have three little girls so I definitely needed an easy way to make bows myself and some people that make them are too stingy to share their techniques on how to make them so thanks a bunch!! :-)
ReplyDeleteJust made 1 it turned out great
ReplyDeleteMy daughter needs to make bows for her cheer camp and we wre definitely using this tutorial. Thanks so much.
ReplyDeleteYou can also use a wood burning tool to cut the ribbon, it melts the ends and prevents fraying.
ReplyDeleteThanks I will make some for my Great grandbaby i kept her for her mom
ReplyDeleteHi! Thank you for the bow tutorial! I have a video that makes bow making difficult and your pics and explanation make it very easy! I have a 3 yr old girl and girl/boy twins so i will be making lots of bows! Thanks Again=)
ReplyDeletethanks for shoing us how to make this bows
ReplyDeleteomg! you just saved my life! i'm making this my weekend goal. make hair bows for my daughter riley.
ReplyDeletethanks for the tutorial. will try to make some.
ReplyDeleteI love this! I have a whole lot of ribbon lying around so I definitely need to try this!
ReplyDeleteYour bows are adorable! This is a great tutorial!
ReplyDeleteI found your blog via Pinterest and will be following via email!
Helen
Blue Eyed Beauty Blog
This is by far the most simple tutorial on bow making I have ever seen! Thank you for sharing your talent!
ReplyDeleteI am trying to make my first bow (using your first example). I am confused as to how to get both of the bow ends on the bottom? When I follow your directions, one ends up on the bottom and one end at the top.
ReplyDeleteThank you so much for this! I've gone bow happy! My daughter doesn't have enough hair for them yet but she is stocked! I also used the 7/8 ribbon same amount for the layered bow and it turned out great!
ReplyDeleteYou can clip these bows onto a crocheted headband until your daughter has enough hair!
DeleteA touch of clear nail polish works just as good as the glue to stop the ends from fraying. Plus the cheap stuff works well.
ReplyDeletePretty!! Thanks!!
ReplyDeleteWhere is a good place to buy the aligator clips? I'm super excited to try these. My girls will love them!! And I'm sure they are much cheaper than the $5 bows I bought for my girls over the weekend!
ReplyDeleteI buy mine from: http://www.hair-hardware.com/alligator-clips/
DeleteThey are cheap and shipping is fast! I'm going to go try this bow out right now. Thanks for sharing. :)
sallys or any hair store
DeleteThank you so much for sharing! You make it seem so much simpler!!
ReplyDeleteI loved the bows!!! The directions were so easy to follow, and the end product was great!
ReplyDelete- 11 year old girl
Best bow tutorial I've seen! Thank you very much for sharing! xo
ReplyDeletegreat tutorial. Have u seen the pony tail bow that uses the crinalin tube. Its almost like a korker. I saw one and I really want to make one. but the lady that made it wouldnt share the instructions.
ReplyDeleteThis makes for a fun time
ReplyDeletethank you for sharing! They are amazing!
ReplyDeleteI use a wood burning tool for ends can find them at craft store $10 use a 1/2 off coupon
ReplyDeleteI use a wood burning tool for ends can find them at craft store $10 use a 1/2 off coupon
ReplyDeleteLove it. Can I pin stuff from your blog?
ReplyDeleteShuttermom77 at gmail dot com
This looks awesome and I cant wait to try it! i just dont understand your instructions for making the knot...I dont get how to pull the top half through the center hole? do you mean bottom half?
ReplyDeleteI love love love how you explain each step! I can't wait to make one for my daughter!!!
ReplyDeleteJamie, in response to your question about step 5 for the first bow, take the end that overlaps the other, bend it back and pull it through the loop. That step was a little fuzzy to me too until I realized what she meant. Hope this helps : )
ReplyDeleteThis is by far the best tute that I have seen...Thanks so much...
ReplyDeleteThis maybe a dumb question but I think Im missing something. Do you cut of all of the rbbon ends on the knotted piece and just leave the knot? I dont see how the finished product looks so perfect from where it was left off.
ReplyDeleteDon't cut off the ends next to the knot. That is the part that wraps around the back of the bow and gets glued to hold it on. I love this tutorial. These are the prettiest and simplest that I've seen anywhere. I pinned from Pinterest. My grand baby girl is coming in March. I think she's gonna be well stocked. Thank you. Debbie (Hardwarechick)
Deletewow, i never knew it was that easy:)
ReplyDeletegreat thanks..
ReplyDeleteI love your site. Could you please share where you can get reasonable ribbon. I have tried Michaels and PatCatans and it is expensive and not the cute patterns that you have
ReplyDeleteThanks Martha luckylady7929@hotmail.com
Walmart has 7/8" 9'ribbon for 1.98$ each!
ReplyDeletewow im only and it was so easy
ReplyDeletelove it
ReplyDeleteI've always made bows and loved it, but this is a much prettier, simpler way! I actually don't have the fray check so I just paint the ends with clear nail polish:)This is a great tutorial and I love the ribbon!
ReplyDeleteThis is the very best bow tutorial i have ever seen! I have made so many ADORABLE bows for my little girl since i found your tutorial! Thank you so much!
ReplyDeleteThank you for sharing! Your tutorial is very helpful!!! Peg
ReplyDeleteTHANK YOU!!!!!! =) I have made my daughter several bows since I've seen your tutorial.
ReplyDeletewow
ReplyDeleteBeautiful bows. How did you get the knot on the pink bow looking so smooth? Mine always come out looking twisted or wrinkled and scrunched up. Thanks, J
ReplyDeletewhere did u buy the ribbon from
ReplyDeleteThe rapid change of technology would definitely make your business grows beyond your expectation.https://copamundialdebrasil.net/
ReplyDeleteI also make bows (for my 3 girls & to sale) & I love the approach you took. I also love the simple, yet detailed directions you gave. I will definitely be trying. As I saw in some of the other comments, there's a few common "tricks" I use as well. I use dental Floss for tying everything together. Works great & very cheap! I also do Trichet lighter. I do have some fray check tho, but haven't used it yet. Some of the ribbon I use doesn't take well to heat, so that's how I ended up with the fray check. Hopefully my tips will help someone. I know this blog helped me! Thanks!
ReplyDeleteOops....typo! Should say "the" lighter. Lol I'm a little unsure how that crazy typo happened!
DeleteI also create bows (for my 3 ladies & to sale) & I really like the strategy you took. I also really like the basic, yet specific guidelines you provided. I will definitely be trying. As I saw in some of the other feedback, there's a few typical "tricks" I use as well. I use oral Get flossing for attaching everything together. Performs well & very cheap! I also do Trichet less heavy. I do have some arena examine tho, but have not used it yet. Some of the ribbons I use does not take well to warm, so that's how I finished up with the arena examine. Hopefully my guidelines will help someone. I know your weblog assisted me! Thanks! address
ReplyDeleteI can't get enough of it so many beautiful details. It's very sophisticated too, which is awesome for a nursery. curvy bust review
ReplyDeleteFor the simple hair bow - How in the world do you get both ends to go the same direction? I'm stumped and trying to hard. I love your blog and your bows!!!
ReplyDeletewow, so beautiful hair bow. I like it very much.
ReplyDeleteLove the tutorial and the hair bows, especially the pink Grosgrain Ribbon one. I have been making bows for years (selling and for my lil girl and gifts) and I always enjoy seeing a new approach.
ReplyDeletewow. this hair bow is really beautiful
ReplyDeleteHandmade Hair Bows & Cute Scrunchies – Shop Now
ReplyDeleteBuy bows scrunchies made with love. Explore handmade hair bows and soft scrunchies in trendy colors and styles.
Handmade hair bows
buy bows scrunchies