Showing posts with label Fireplace Mantle. Show all posts

Fireplace Makeover! And some shelves...

Tuesday, October 29, 2013

Hello, hello!

Today I wanted to share our fireplace makeover. Although I think we might like to add more to it in the future, I am REALLY loving what it looks like right now. 

If you'll remember, we started out with this...


And then we put in new floors, painted the walls, and the trim and came to this...


I was still SO bothered with how dark the brick was, so one day I just started painting it with white primer. Bryan and I talked about how else we could change it without spending too much, and about a week and $40 later, we came up with this:


(We're going to pretend the the floors aren't dirty, okay?)

I am seriously loving it! 

After some debate, I've decided to go a bit more vintage/coastal with this house since I tend to buy home accessories and art (especially seasonal decor) that lean toward those styles. That decision is what led us to move forward with painted brick and a bit more rustic looking mantle.

I used Benjamin Moore Gray Owl (75%) for the color and we bought plain pine boards at Home Depot and stained them with (what else) Danish Oil. We also finally added quarter round to the base of the fireplace.


I still need to caulk and paint the trim on the sides (we tried to remove it completely but the brick doesn't even meet that wall so that was a no go!), but after that I will be done with this thing!


I also had a bit of fun last week and moved my Ikea shelves that we originally had in the craft room to the living room. Kind of shocked Bryan with that one when he came home from work, but I think he likes it. I thought it would be a good way to display our books and some extra decor, and most importantly, to hide of all of Parker's toys!


(Five points if you can spot the two-year-old TJ Maxx price tag that I have never taken off and the tipped over wreath--I'm obviously not that observant when I take pictures.)


This has truly made nightly clean-ups SO much easier since I don't have to sneak in Parker's room and put away his toys (or stuff them in a corner for the next day). ;)


I still have a couple of more things to do in the living room before I'm happy with it (for the moment, anyway). We finally hung curtains a few weeks ago but I still need to hem and iron them. I also ordered blinds and am anxiously awaiting getting them in the mail, AND I need to paint the back door and touch up all the trim...and hang artwork. (and, and, and...)

Also, if I were to pull back the lens on these photos, you would see that our living room is currently home to our kitchen cabinets which I am halfway through painting. I would be done, but stinky weather has put me on hold for now...darn. 

Cannot wait to share more! We are moving, moving, moving.

We also took this kid to the pumpkin patch tonight.


He's my favorite crazy car-loving boy on the planet!

Have a great week!


Our Fall Fireplace

Sunday, September 22, 2013


Happy fall, everyone! I was very excited to decorate our mantel for fall, even though the fireplace is not really how I want it to look at the moment. I still like how it turned out, though :).


We almost tore the fireplace apart this weekend and began the renovation process, but then we changed our minds and did the laundry room floor instead. (Pictures to come!)

I did paint the inside of the firebox black with some high heat paint. For some reason, it looks like there are little drips on the paint and I have no clue why! I may have to redo a bit of it. 


I bought the wheat this year at Hobby Lobby along with some real pumpkins... that was pretty much it though as far as new purchases go. I got a ton of fake pumpkins last year at Wal-Mart for like 25 cents each. I love after-season sales! I spray painted a few of them gray and white.


So that's our very traditional looking mantel. I cannot wait to get this brick out of here and lighten it up! I think I've figured out exactly what I want to do for the fireplace surround and even made a sketch of it (because I'm so professional like that). We are going to completely cover the brick and the wall above the mantel, and then beef up the mantek by building it out with some thick columns and then painting the whole thing white. I'm thinking of a simple cape cod, cottage-y feel.

Can't wait to share it! I'm excited to see everyone else's fall mantel's, too.

Have a great week. 

Inspiration for our Fireplace Makeover

Monday, August 19, 2013


Last week, I shared the progress that we've made on our mantle so far. I last left you with this:


The current look is SO much better than the 'Before', but we still have a lot that we want to do. I would really like to add more "oomph" to our mantle, along with a different brick color. The final touches will be the decorations, which I am pumped to play around with!


Here are some of my favorite images that have been inspiring our fireplace makeover.


Edie's fireplace is beautiful, and I love the touch of color she added. It's colonial and classic with a twist and the columns on either side of the firebox are perfection.


I LOVE this image. Those built-ins? Ahhh. Another classic, beautiful fireplace. I love the wainscoting above the mantle--this might happen to ours as well.


The hearth height in this image is just like ours, and again, I love the classic columns and wainscoting.


Another option we've been discussing is to make a mantle with distressed or reclaimed wood to add some depth and texture. I love the look of this driftwood mantle. This whole room is so whimsical and light--perfection!


Here is another great painted mantle with a twist on the classic look. I also really love the white painted brick, but I'm not positive I would love it on our fireplace. Thoughts?


Last but not least is this beautiful cottage-style mantle. I know that everyone is doing these wood planks, and with good reason--the look is truly beautiful and timeless! This would definitely add a lot of height and character to our living room if we went in this direction.

So what do you think? There are so many great looks with mantles, and it is SO hard to narrow it down to just one!

Have a wonderful day!

Beginnings of a Fireplace Makeover

Wednesday, August 14, 2013


On Monday, I shared the "Before" pictures of our living room and the direction I'm hoping to take to make it over. I also mentioned that a big project in this room is re-doing fireplace. 

We started out with this...an ugly cover, lots of brown, and a taupey-beige mantle.


(Here is another really terrible "Before" picture I took on my good camera. Sorry! Worst blogger ever.)


I painted the mantle a bright white, we painted the walls, and pried off that terrible cover. (We also replaced the floors.) That left us with this...


(You can see a teensy bit of our Goodwill armchair that I scored for $25 and plan to reupholster.)


It's definitely not "styled" or anything, I've just hung my trusty old painting that I love so much, but it looks a heck of a lot better already, if I do say so myself :).


My immediate plans for the next phase of this makeover are to paint the inside of the fireplace black (why do they paint them white in the first place? They always end up looking terrible), and possibly staining the brick to more of a red color so it doesn't blend in with the floor so much. 

Our "ways-off" plans include replacing the mantle with something much more substantial that surrounds the entire fire box and comes down to the hearth. We have also discussed doing some sort of moulding treatment to the wall above the mantle---but we don't know if that's for sure. And of course I need to fully decorate it! I love to decorate mantles. :)

I hope to share more inspiration and details for our mantle makeover sometime next week.

Have a great day!


Our 2012 Christmas Mantle.

Thursday, December 6, 2012


It's the most wonderful time of the year! And I love our mantle. Again. It didn't change much at all from last year, but here it is for all who want to see it:


Obviously, we painted our house, which I LOVE. I moved the stockings over to one side and added a mirrored ball thing that I got at TJMaxx a few years ago, as well as another apothecary jar that normally sits on a dresser in the corner of our living room (our tree is there right now). The last new addition this year are a couple of wired baskets filled with grapevine balls and ornaments.


This year I decided to jump on the bandwagon and buy some real greenery to mix in with my ever-faithful faux greenery. I like the look, but not the mess, and definitely not the rash that it gave my hands! And it made me wheeze. I am a loser.


----------------------------------------------------------------------------------------------
 
So here is our mantle last year:
 
 
(OH my gaaaawsh. I pulled this up and yelled "Peach Crayon!" How did I stand that color for so long? I really need to do a updated home tour with the new paint color--sorry about that.)
 
And here is our mantle now:


Ahhhh, pretty much the same, but SO much better. :)
 
 
Linking this at Ten June and The Lettered Cottage!


Finally: The Fireplace!

Tuesday, January 18, 2011

It has been almost 2 weeks since we started working on the fireplace. Just when I thought I couldn't take any more dust, tarps, constant sanding, and paint....we finished! We started out with this:

 Then went to this when we redid the floors:


Two weeks ago it looked like this:


To this:


 And FINALLY, to this!!


 LOVE it!


 It's not as glossy in real life, promise!


BEFORE:


AFTER:


Now we just need to add decorations (and mop the floor haha!)!

Oh and P.S., my mom FINALLY posted on her gardening blog!! Click HERE to see it!

P.P.S. Go look at The Shabby Nest for more renovations :).

The Mantle Has Taken Over

Thursday, January 13, 2011

Our lives, that is. Yes, it has been almost a whole week since we first began the mantle project of the century and it is STILL lacking the final 2 coats of paint. I will, however, show you a few sneak peeks:

Bryan put grout in between the tiles the other day. I think it looks GREAT!


Hooray for the first coat of paint!!


Ok, that's all your getting. I know, I know, you're excited to see how amazing it looks in the end :).

Bryan is at coaching camp until tomorrow night, so we will hopefully have the big reveal posted sometime on Saturday.

In other news, I'm going to Kappa's Alumni Night tonight for Pledgeweek! I'm super excited to see how they've been doing since I graduated. It should be fun! We also have our very first Lubbock Area Alumni Luncheon tomorrow which I think will be really successful, but as always, I'm getting a little nervous. So...prayers are appreciated--both for my event and for Bryan's safety at coaching camp. Thanks!

What We Do For Fun

Saturday, January 8, 2011

Our entire Saturday was spent doing home improvement projects. I am actually very happy about this because we have been wanting to get started with house stuff for a while and now we are finally able to do so which is really exciting!

Our day began at Lowe's, where we bought trim and paint for the mantle that Bryan has been working so hard on, and sandpaper, wood conditioner, and stain to refinish the dresser that I got for FREE from my parents house!

After our trip, we got to work:


It look me about 2 hours to sand and the condition wood, but that whole process is for another post...


Here are our projects side-by-side. We decided to bring the dresser in for staining since the garage is SO dusty from cutting wood for the mantle.


I decided to stain the dresser a rich brown with a little red in it. You can see below how much darker it is than the original stain (this is after only one coat--I will do the second coat tomorrow!)


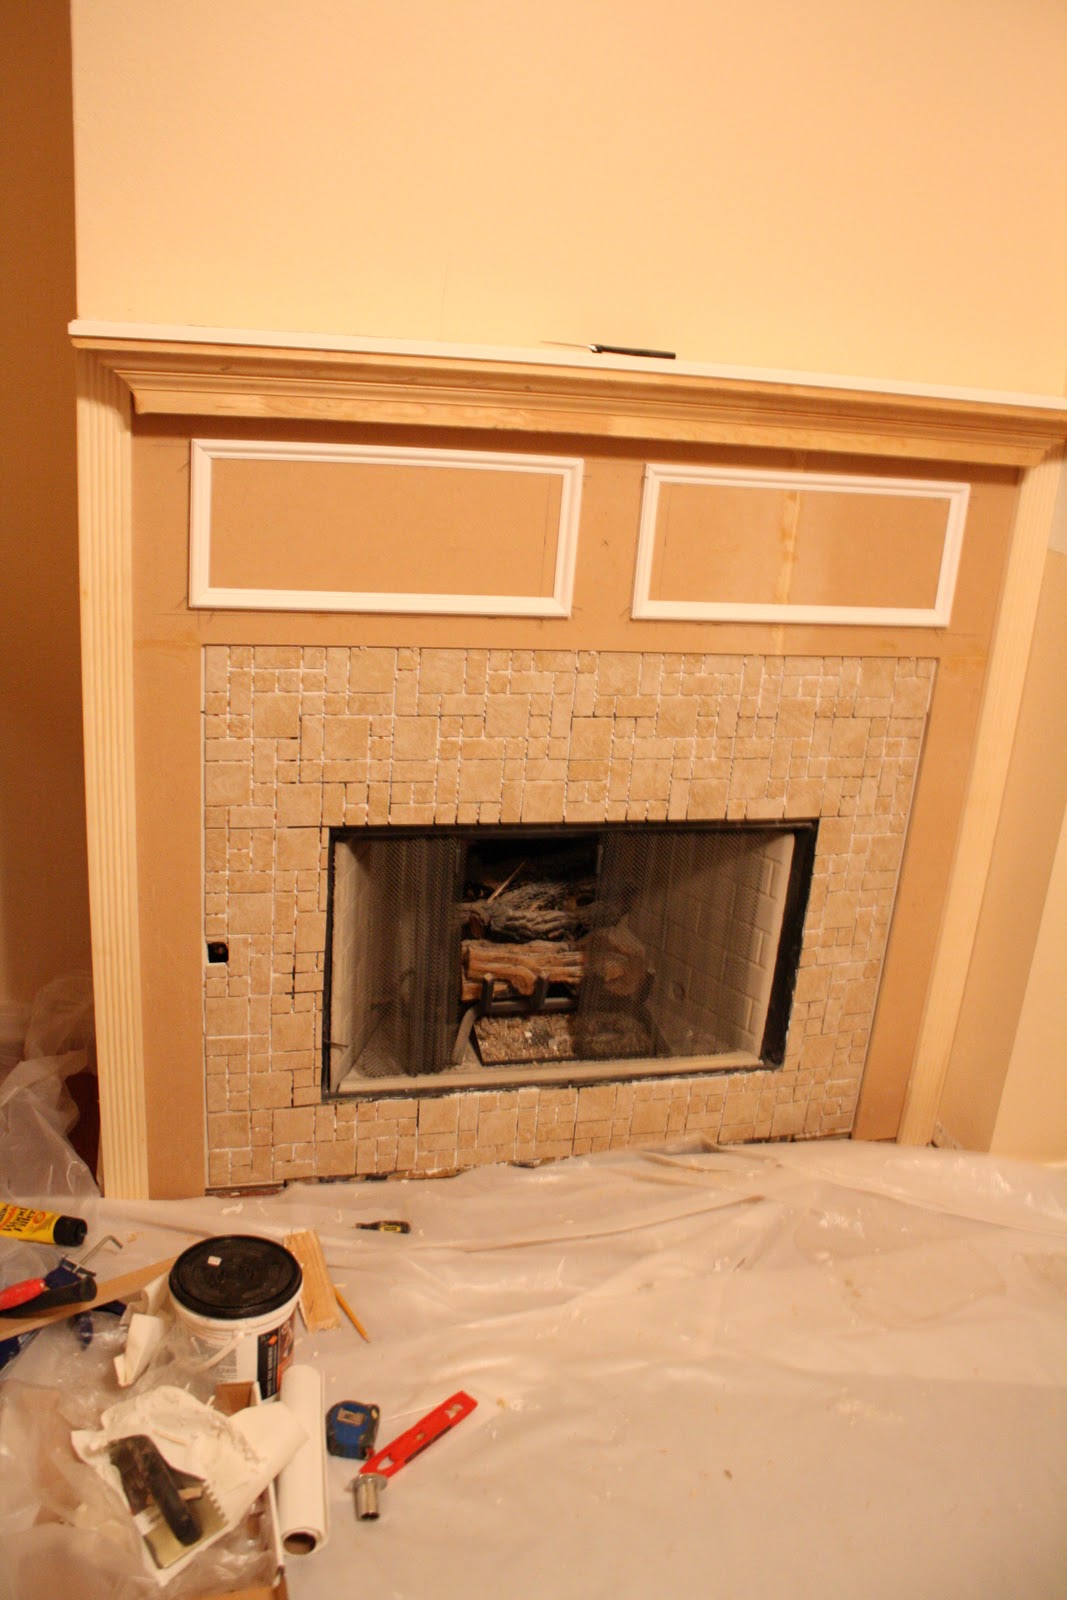
The mantle's looking great!! We had SUCH a hard time deciding what to do since our fireplace is at the end of one wall and the corner of another....we couldn't do a traditional mantle where the corners hang over the top, but thankfully we found a solution after looking through my Better Home and Gardens Decorating Book.


I actually had to tell him to stop moving for this picture because all the others were blurry! He works too fast!


Pre--tty. And this is only with one coat!


Putting the first of the tile on. My job was to get out all of the glue from between the cracks....fun (not).


Yay tile!


The "almost" finish product. Bryan still needs to do the grout, add trim to the bottom, and I will paint all the wood white and then we're done!


Be looking out for two very exciting "before and after" posts in the next few days!