Showing posts with label Hair Bows. Show all posts

Louisiana.

Friday, June 3, 2011

Hi everyone!

We are out and about visiting our family in Louisiana. I am love being able to spend time with our family again--this is a treat since we live so far away!

We've done a whole lot of nothing today, and it has been perfect! Here are a few pictures of our trip thus far:

Hensley getting a bath....

Hensley getting dressed....

Abby and her new cat, Sammie.

Hensley falling asleep (under her aunt's watchful eye)...

Bryan meeting his niece for the first time!

Big yawn!

Love those blue eyes! And she's wearing one of my bows :)


Fun in the pool:


As you can see, our niece kind of steals the show, but I think we're all okay with that :). I'll be here until Sunday, but I'll be back with more pictures AND some of our new master bathroom next week!

I obviously have an obsession...

Sunday, May 8, 2011

I saw some more flower bows in a baby boutique a few weeks ago when I was getting a gift for my niece. So naturally, I had to see if I could copy them, and I did!


The steps to make these silk flower bows are a lot like the ones I posted here. I just added more layers and things like tulle and silk leaves. I love them!

I also made a few of these:


The steps to make the basic part of this bow are posted here. BUT instead of just stopping with the bow, I added lots of fun things like feathers, petals from a silk flower, and pearls. I am in love.

We had a great weekend! I went to several showers and got the chance to spend Saturday with some good friends--one of which I never get to see because she loves so far away! We also went and saw Something Borrowed--so cute. Bryan had spring football practice and finished up another little project that I will post about later this week :).

Happy Monday!

Link Parties:

Think Pink Sundays
Whatcha Got Weekend
Amaze Me Mondays
Just Something I Whipped Up
Market Yourself Mondays
DIY Showoff Project Parade
Thrifty Decor Chick
Take a Look Tuesday
Show and Tell Wednesday
House of Hepworths
Show and Share Day
Fun to Craft
Weekend Wrap Up Party
The Shabby Nest
Remodelaholic
Furniture Feature Friday

The Hair Bow

Thursday, April 21, 2011

Hello, all of my blog friends! Guess what? My weekend has had an early start! Yes, there are definite perks to working at a Christian college. Good Friday, here I come.

I have been seriously lacking in creative projects recently, so I decided that in honor of my new niece I would share one of my absolute favorite crafts to make: hair bows.

So....here are the simple steps to making adorable, professional looking hair bows for all the little girls in your life (speaking of which, I'm pretty sure every pregnant person I know is having a girl). Yes, I'm spilling all of my secrets. Feel special.

The Simple Hair Bow:
Supplies:
-Scissors
-Hot Glue Gun
-Jewelry Wire
-Fray Check
-Hair Clip
-Wax Paper
-Ruler or Yardstick
-30 inch long piece of 1 1/2 inch wide ribbon
-8 inch long piece of 1 1/2 inch wide ribbon

Step 1: Drape the longest piece of ribbon over your hand, wrapping twice so that the ends of the ribbon face opposite directions.

Step 2: Place the folded ribbon on a flat surface.


Step 3: Gather and pinch the center of the ribbon to create a bow. (Sorry about the blurry picture....I looked after I had finished the bow.) Wrap the center of the bow with jewelry wire to hold in place. Don't worry if it doesn't look perfect right away, you can pull and mess with the ribbon once the wire is in place to get it looking like a bow.


Step 4: Take the 8" piece of ribbon and fold one half over the other.


Step 5: Create a knot by pulling the top half up through the center loop.


Step 6: Place and hot glue the knot over the center wired part of the hair bow.  Wrap ribbon around the back, hot glue, and trim off the excess ribbon.


Step 7: Hot glue the top of an alligator clip or hair clip and attach the hair bow. Be sure to place wax paper in the hair clip so you don't glue it shut!


Step 8: The last and probably most important step is to fray check the ends of the bow. We don't want unraveled ribbon, people. Fray check is your new bestie.


Ta-da! A cute and simple hair bow.


The 3-Layered Hair Bow (my favorite)

If you like huge hair bows, this bow is for you!

Supplies:
-Scissors
-Hot Glue Gun
-Jewelry Wire
-Fray Check
-Hair Clip
-Wax Paper
-Ruler or Yardstick
- 3, 19 inch long pieces of 1 1/2 inch wide ribbon
-8 inch long piece of 1 1/2 inch wide ribbon


Step 1: Take one piece of 19" long ribbon.  Overlap as shown below.


Step 2: Pinch the center of the ribbon and hold in place by wrapping jewelry wire around the middle.

Step 3: Repeat Steps 1 and 2 for the remaining 19" pieces of ribbon. Your bows should look like this when you finish.


Step 4: Stack the 3 bows on top of each other. I usually stack them in a clockwise direction so that they don't lay directly on top of each other. Wrap jewelry wire around the center of all 3 bows.


Step 5: Repeat Steps 4-8 in the above directions to make a center knot and complete the bow.

And you should get something like this when you're done!


Love :).

Have a very Happy Friday!

More Flower Bows!

Thursday, January 27, 2011

Alright, well remember last week how I mentioned that I had found several ways to make flower bows? Well, today I'm showing you one of those methods as well as one I came up with myself. I love them both so much!
Sidenote: Sorry to anyone who reads this for personal posts... I know these craft posts are SUPER boring for you, but I wanted to blog about them so you will have to deal....or you can just not read these!

First are these silk flowers that I've been seeing everywhere:


What you will need:

-Silk/Satin Fabric (I bought fabric remnants at Joann's--you don't need that much)
-Candle
-Scissors
-Beads of buttons
-Needle and thread
-Pins or hair clips
-Wax paper
-Hot glue

First, cut out 4 or 5 circular peices of fabric at varying sizes. They don't have to be perfect, you can just freehand them.


Next, light a candle and hold the edges of each circle over the flame until they curl. Be careful not to let them burn or catch on fire! If they do melt or burn, you can trim off the edges and do it again.


Once you have all the edges curled, stack the "petals" on top of each other however you want.


Take beads or buttons (I sacrificed old necklaces that I haven't worn in years for this part) and sew a cluster of them to the center of the flower to secure all the petals and add a cute little decoration!


The finished product! (P.S. These are huge...like almost as big as my hand)


Here are pictures of the other ones I made:


This one looks black in the picture, but it's chocolate brown...I love it! And the buttons are a LOT easier to sew on than the beads.


I LOVE this one!


Ok, the next bow I made up myself! I was playing around with the ribbon I had used for normal hairbows and came up with this:


Cute, right?

Here's what you need to make it:

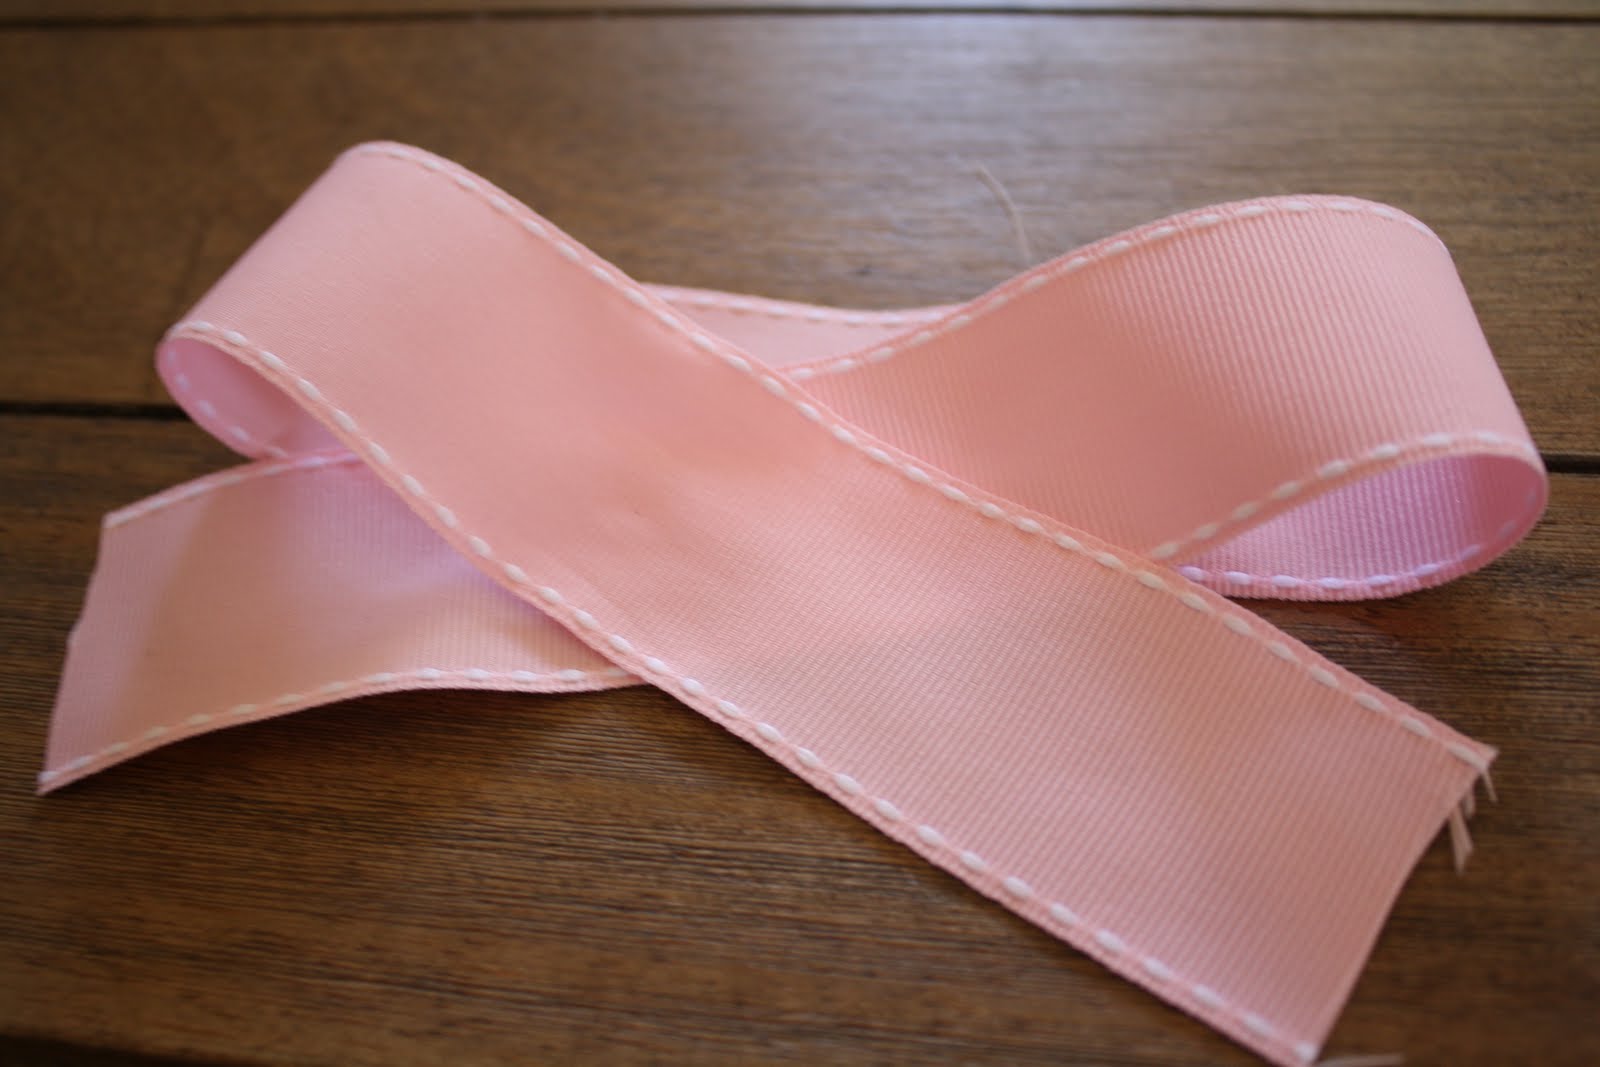
-4 9inch long strips of wide ribbon
-3 7.5inch long strip of thin ribbon
-Hot glue gun
-A button
-Hair clip
-Wax Paper

First, cut all the ribbon strips.


Next, hot glue each ribbon strip into a circle:


Hot glue each circle in the middle to make into a bow shape:


Take the thick ribbons and make into a flower shape, hot gluing each layer down on top of the next:


Do the same with the thin ribbon:


Hot glue the thin ribbon flower on top of the thick ribbon flower:


Then, add a button, and you're done!


Oh, I also glued all of my bows to alligator clips using hot glue and wax paper...


Here is a another "Ribbon Flower Bow" that I made:


Cute!


Yay hair bows! Can you tell I'll be sad if I don't have a girl of my own? Haha!